I finished this block while working as the hostess at a Guild workshop – between making coffee and tea and running errands for the teacher.
I finished this block while working as the hostess at a Guild workshop – between making coffee and tea and running errands for the teacher.

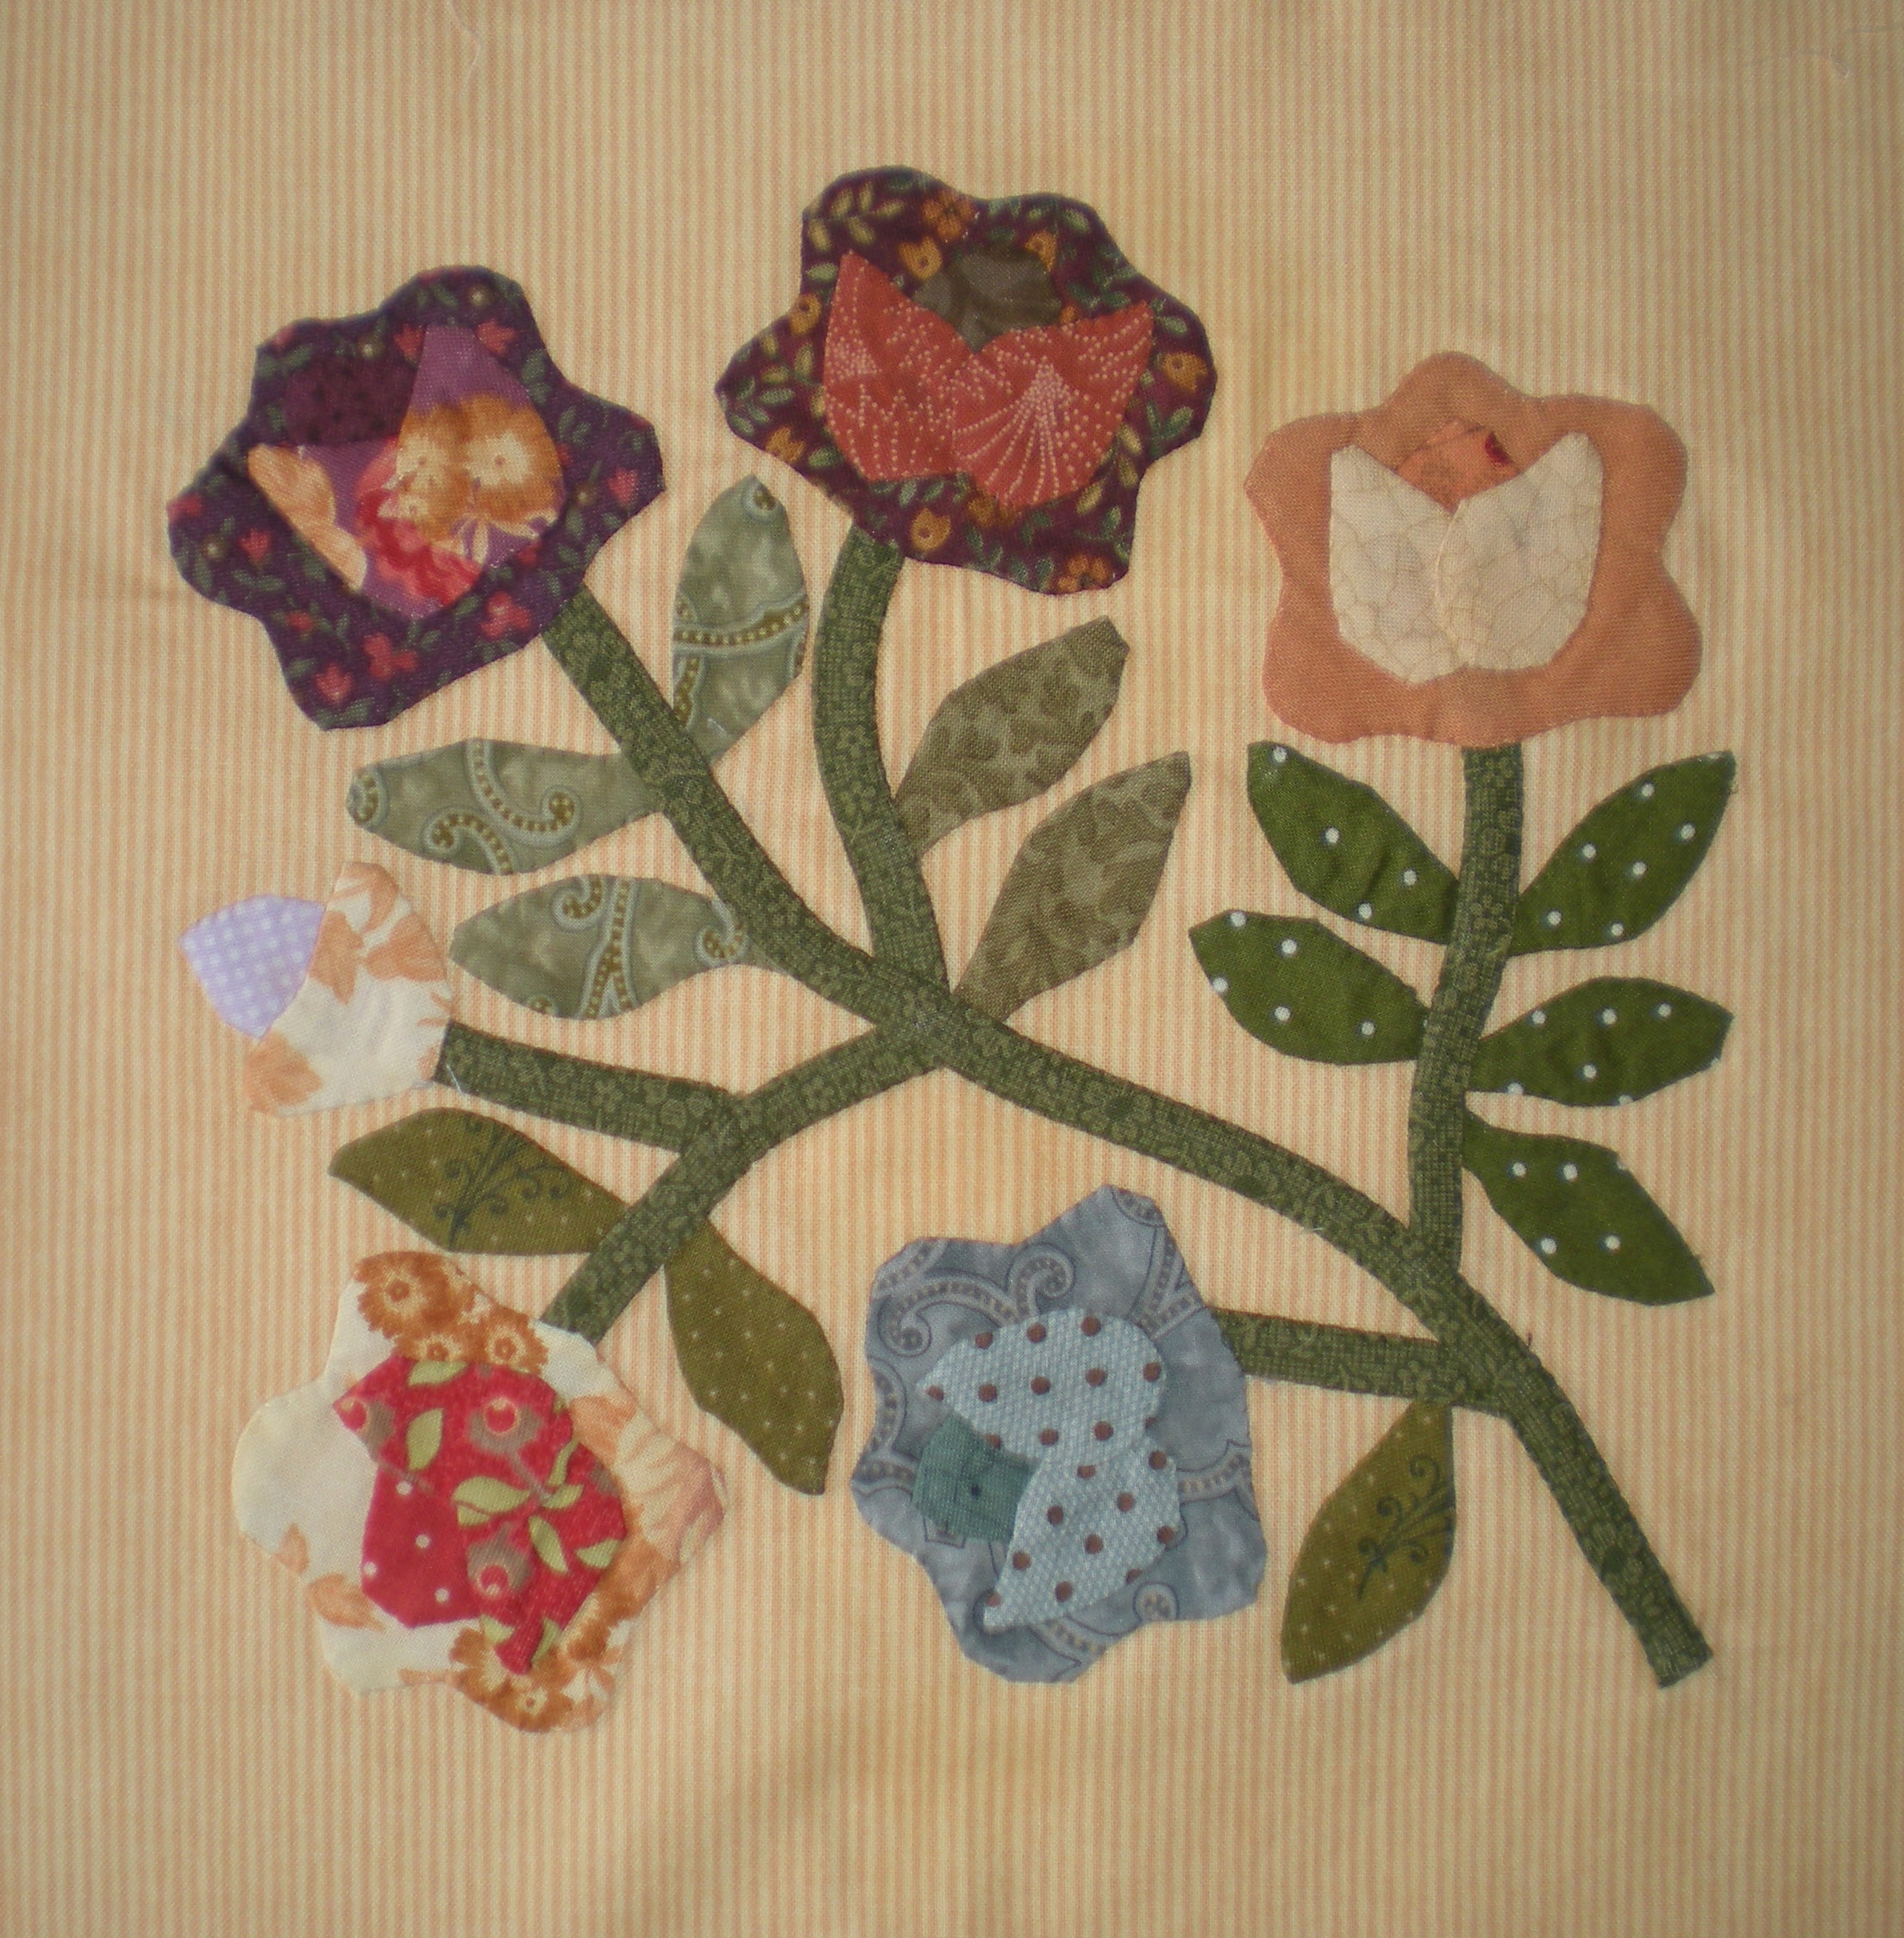
I used a cereal box to make the templates for this first block. They kept the shape very well, but the cardboard was difficult to baste through. The templates were strong enough that they can be used many times.

I used cardstock to make the templates for this block. Although they were much easier to baste through, I’m not sure they held the shape as well. Or perhaps my original template was a bit wonky.
 There was a lot of cutting involved and that was all done before we met as a group on the first day.
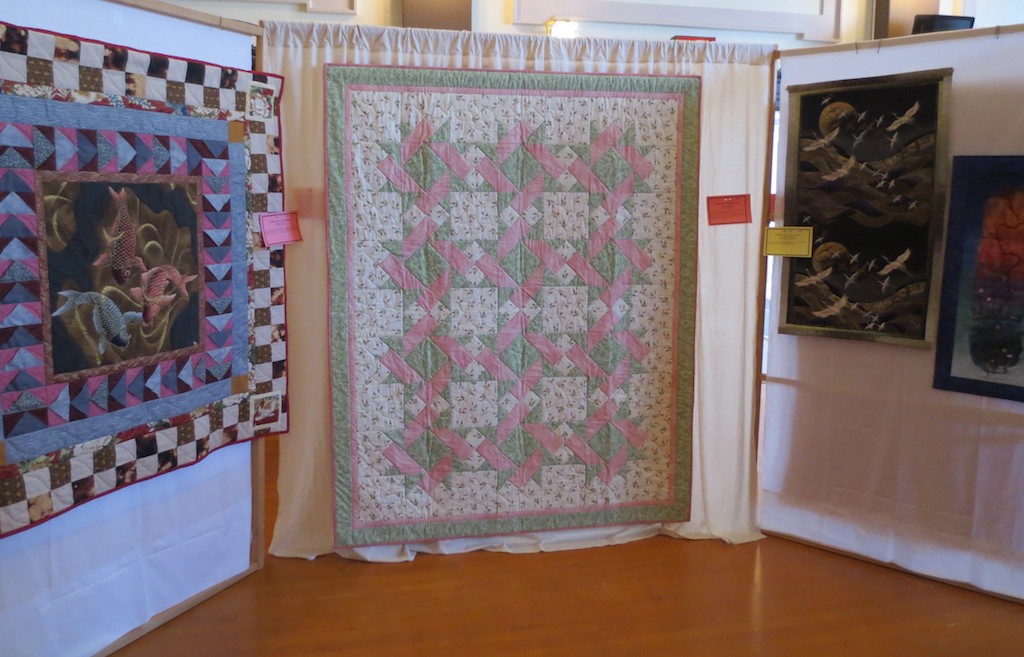
We were handed the instructions, one step at a time, and at the end of the first day I still had no clue about how the quilt would end up looking. On the second day, as the faster sewists finished their blocks and started putting them together, I was able to get an idea of the design. But everyone had completely different fabric so I still wasn’t sure how mine would look when it was complete.

Once the top was done the Tuesday morning ladies suggested adding a zinger of pink and a border of green. I finished the project at home over several weeks. I outlined the stars in a straight-line stitch and chose a template for quilting in the larger squares.
 For my binding, I picked a pink that was a shade darker that the fabric in the quilt.
UPDATE: This quilt went to Kathryn
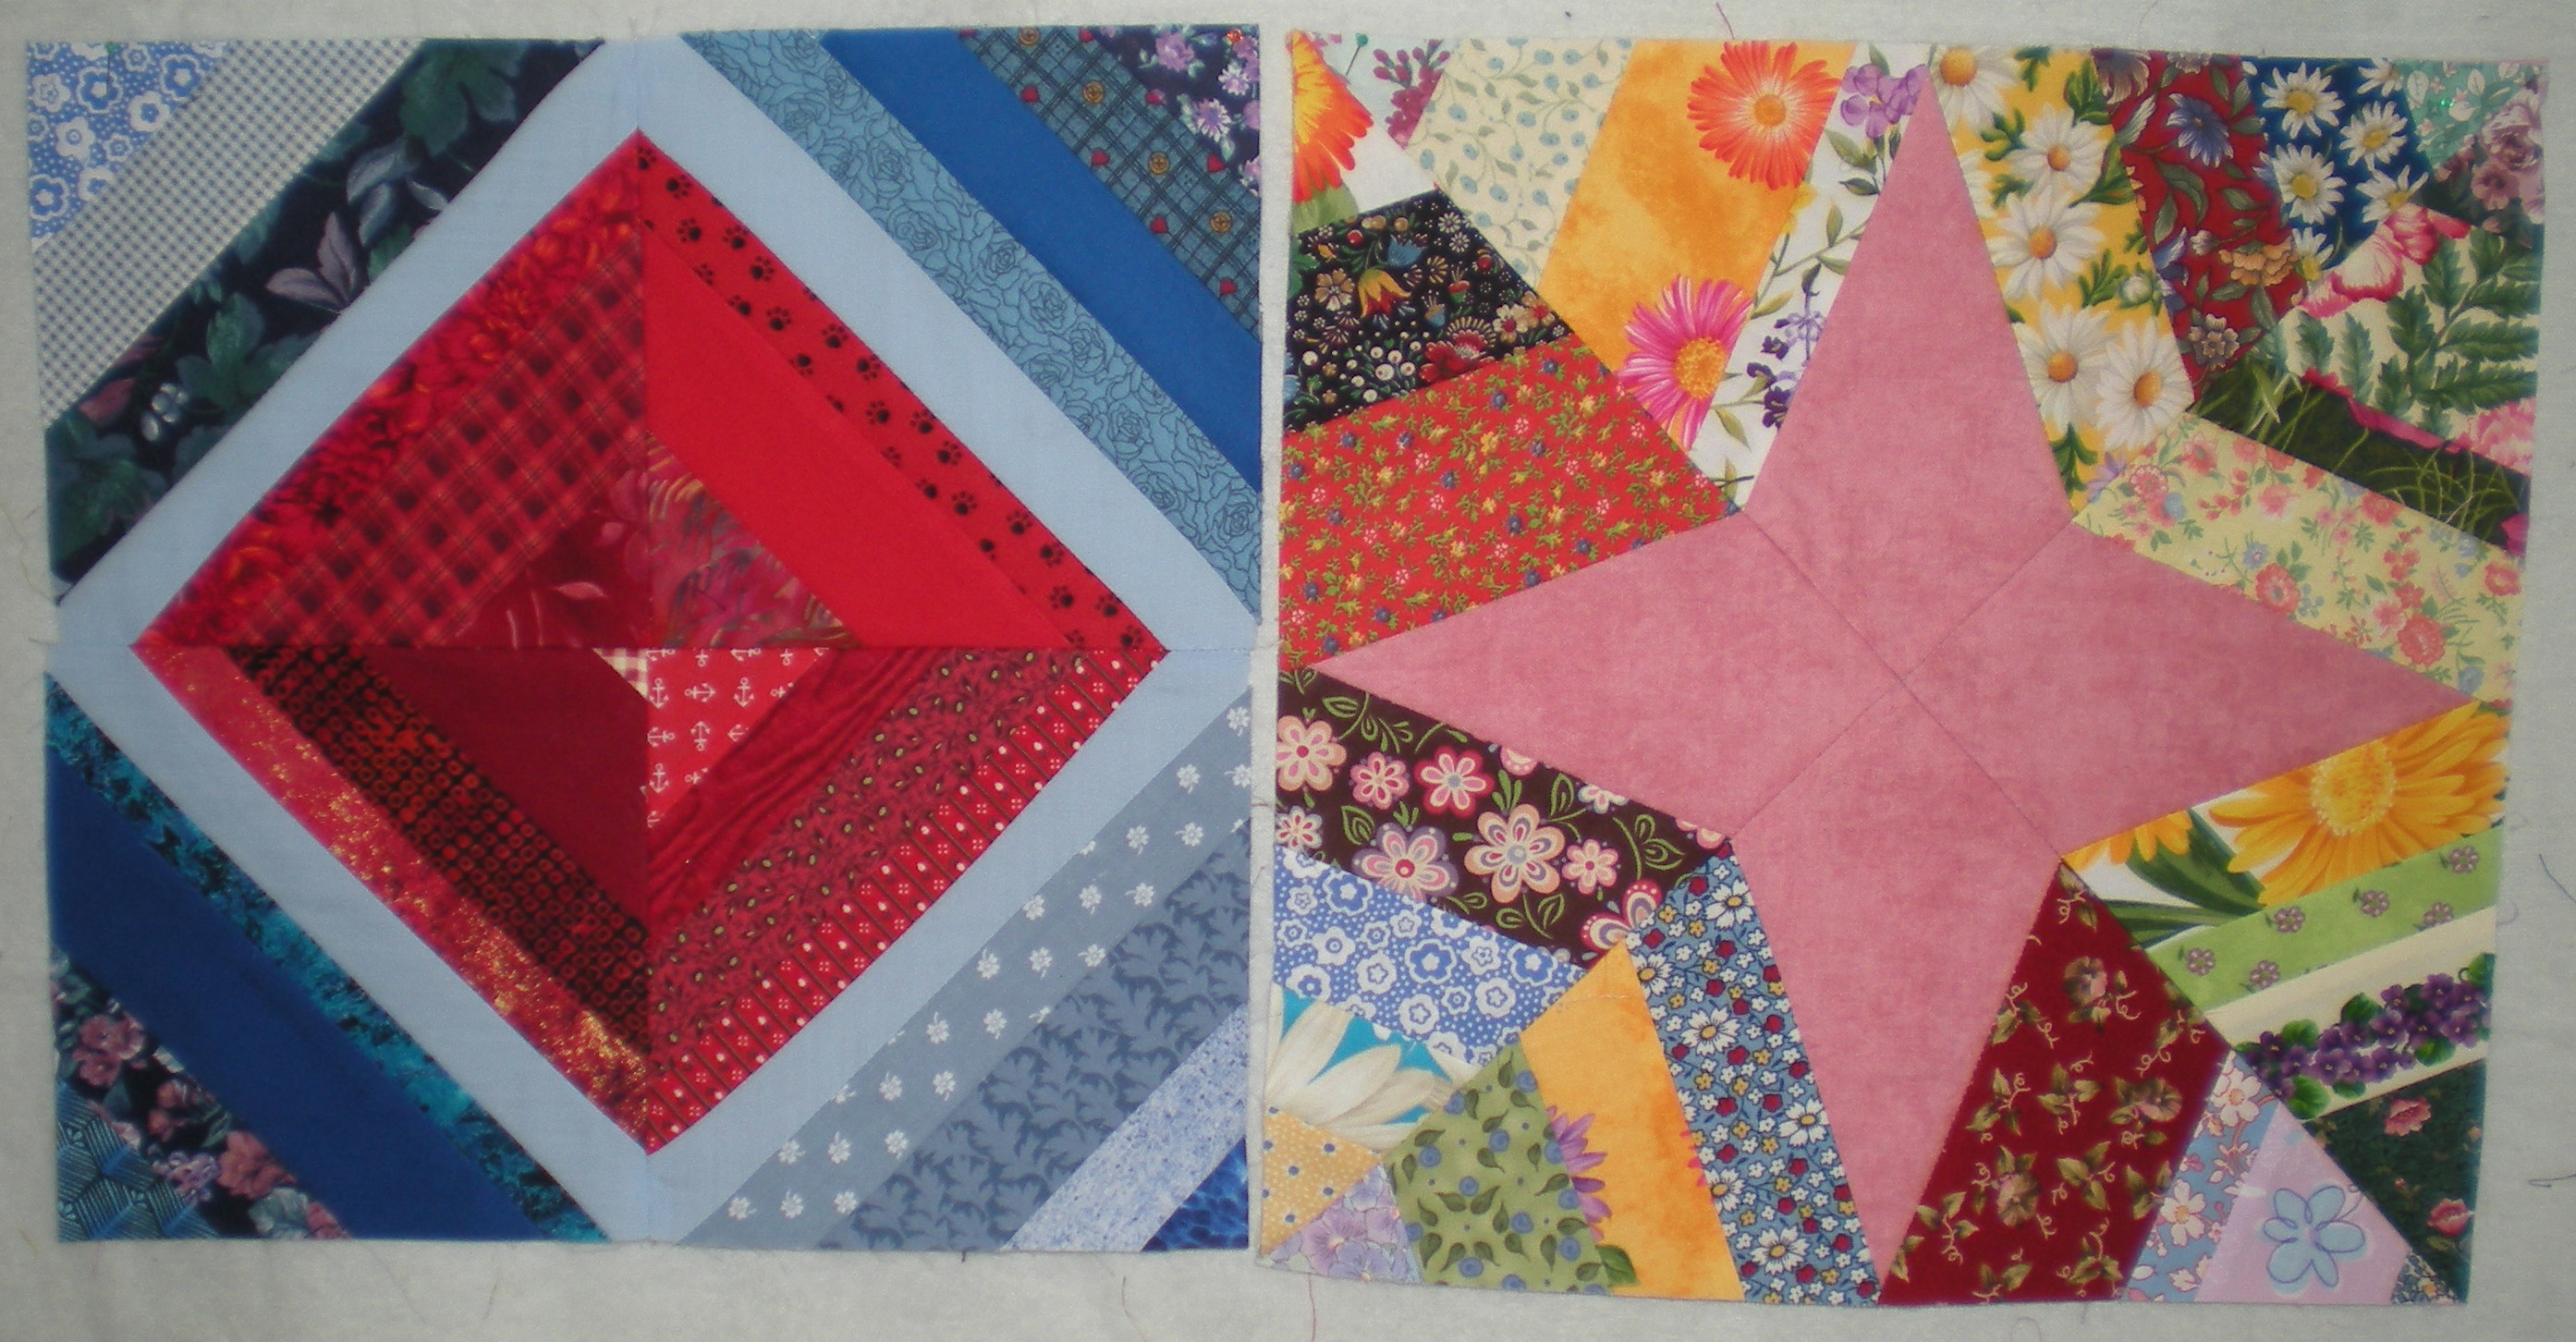
 The first block was done in the same manner as I did my quilt top except that we left a one-inch strip of the foundation block showing in the middle of the block. I used a very flimsy fabric for my foundation block but because it is such a narrow strip it didn’t seem to matter. I love the look of the solid color frame around this block. I used a blue and red combination for the block because those were the first colors that came out of my string bin.
 I love this Broken Spider Web. I used a different technique for this string block. After doing some cutting, measuring and marking for the foundation block the first two strips on each side were stitched to the foundation as usual. For the second and remainder of the strips you pull the foundation fabric back and stitch the strips together. At the end, you use the foundation fabric as a template to trim the block and then trim off the foundation fabric (much like you do in paper piecing). In keeping with the spider web (garden) theme I used floral fabrics for this block.
I see more string quilts in my future and I’ll definitely be using these patterns again.